


Intro
I received an old TV, but it had no remote control. I looked in my drawers and I had loads of old remotes, none of which of course would work with the TV. However, I thought it was a shame to let all those go to waste, and I realized that if only I knew what codes they were sending, I could then use them in other projects.What you need for this project:
| What | img | price in 2020 |
|---|---|---|
| Esp32 | 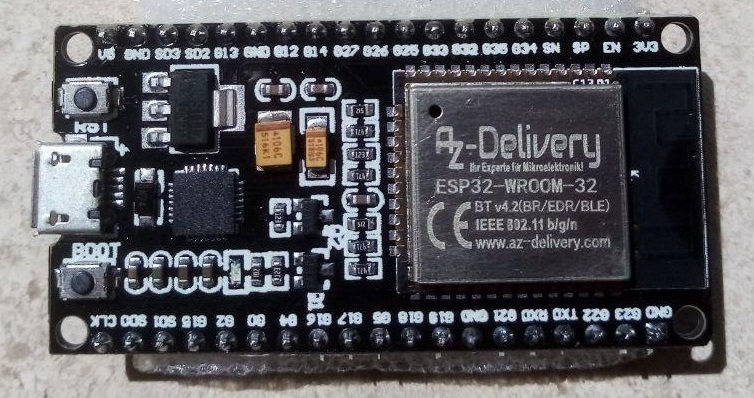 | 7€ |
| Nano | 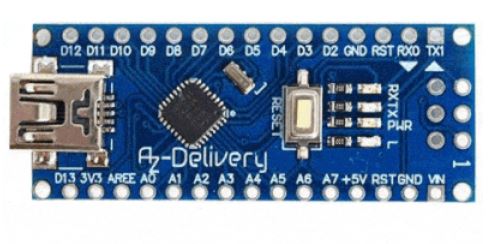 | 4€ |
| IR Receiver | 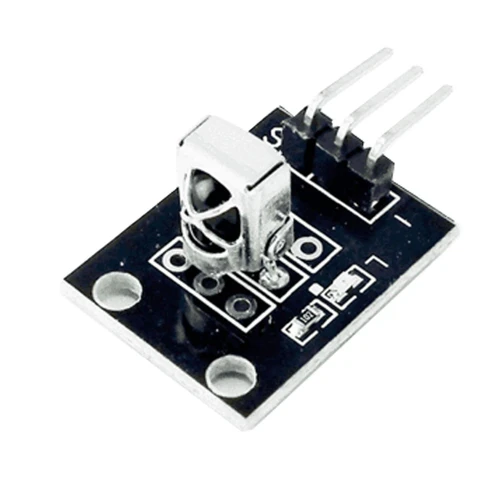 | 5€ |
| Display | 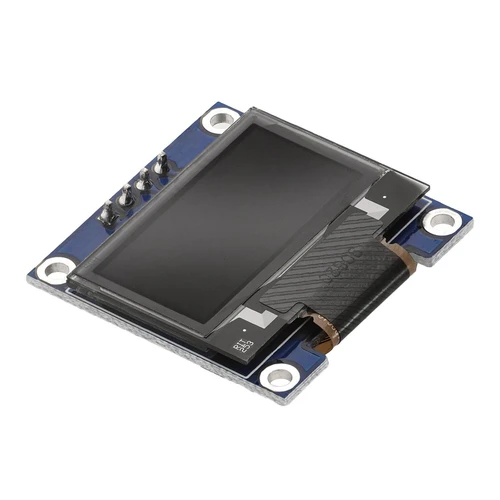 | 6€ |
| Relay | 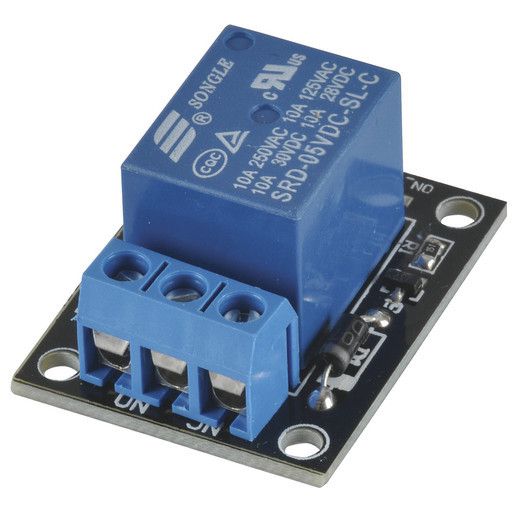 | 3€ |
Links are not an endorsement of the product and just provided for convenience sake. I get not cut.
Decoding
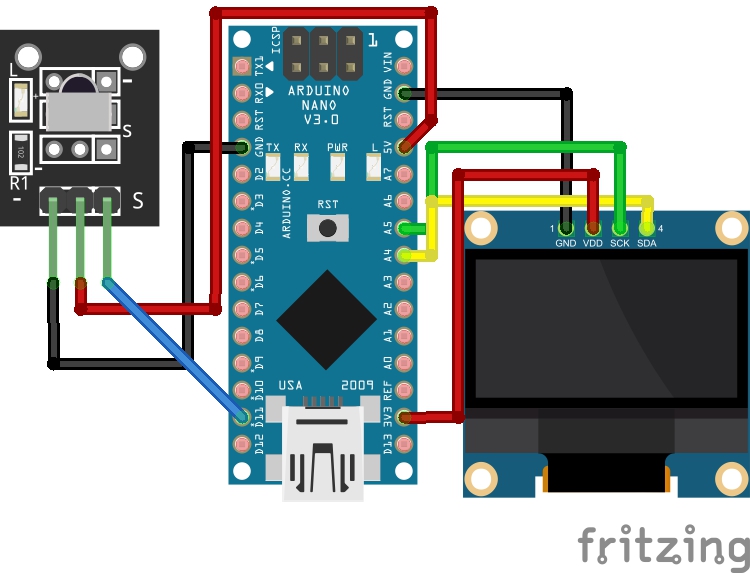
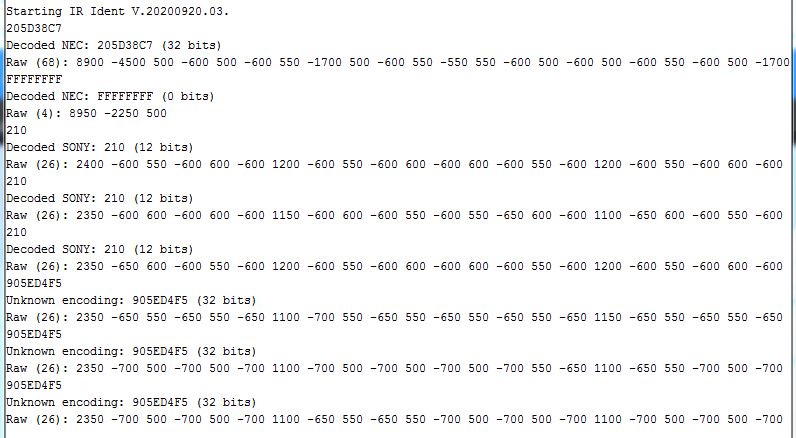
The design is rather simple: An IR receptor connected to a board, and the board connected to a display.After that, it is just a matter of pushing each button on the remote and take note of the code received by the decoder. More tedious than difficult :-).
I bought a lot of ESP32 for other projects, but it is a bit of overkill, in the sense that you don't need any of the wifi or bluetooth capabilities, so a Nano would do just as well. It was also an opportunity for me to code for the Nano. That's why I listed both prices. You don't need both, any of the two will do.
(For the heck of it, I also decided to send the result via bluetooth to my Pebble with the esp32, but that's outside the scope of this doc).
The wiring looks like this:
Lessons learned
- First problem was to get the code to the Nano! Turns out a Nano is not necessarily a Nano. There is
* the first generation using the ATMega168 chip,
then
* a second generation using the ATMega328p (old bootloader),
and
* a third generation using the ATMega328p (new bootloader).
Luckily the Arduino IDE supports them all. - Read the doc ! I spent a lot of time trying to figure out why my Oled display didn't work, until I realized I was trying to use the arduino ssd1306 library with a chip that was NOT an ssd1306. Once I loaded the SSH1106 library - or rather a library that supports the ssh1106,things started getting better. (found another one later).
- Only started to get better, because the graphic library uses more memory than the nano can afford, so the whole thing was very unstable. I dug deeper, and found out the library had a text only mode (u8x8), which wasn't so memory hungry and would work with the nano.
- Next hurdle was to find a font small enough for the screen, as most documented fonts were for the graphic mode.
- All in all spent more time trying to display the results on the oled screen than actually getting them- this was very straightforward !!!
- And finally: forget the Nano! Unless you're really tight, or your project doesn't need an Oled, add another €2-€3 to your project and use an esp32. You don't need the wifi capabilities, but the small memory of the Nano complicate your life if you intend to use a Oled screen with it-at least a ssh1106- based.( I'm glad I did it for the challenge, but considering the price difference with other boards these days, there is no reason to submit yourself to that !)
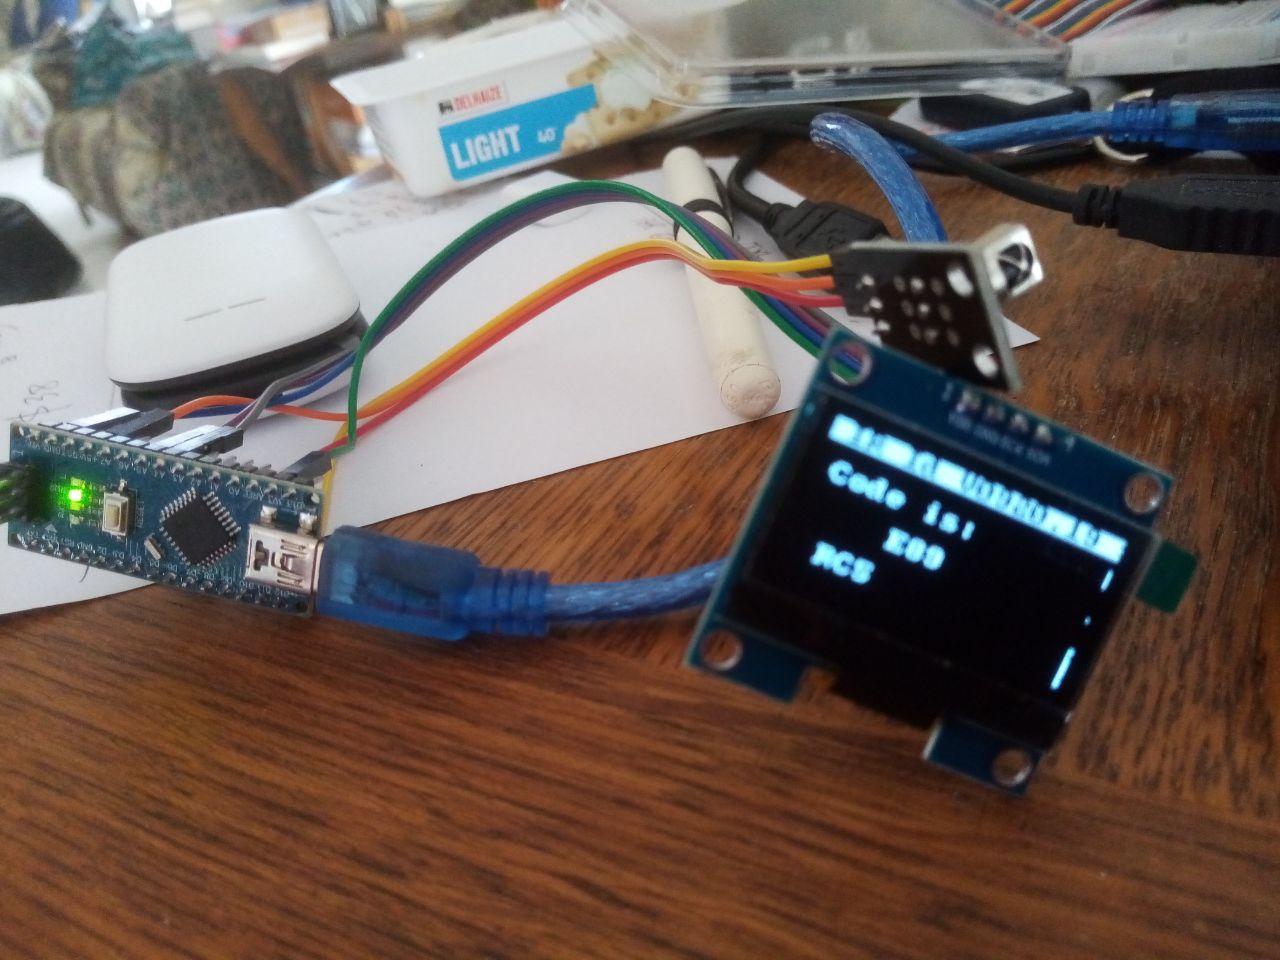
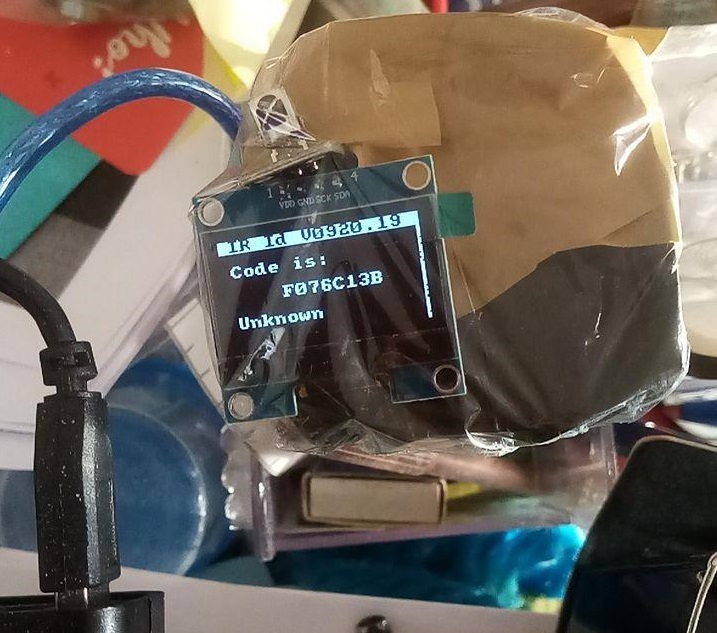
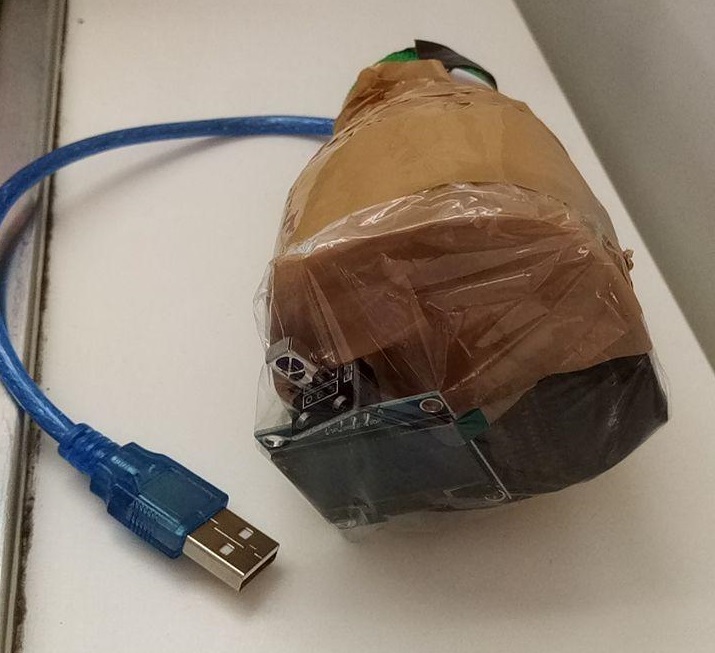
(And before you ask: the container is half a plastic milk bottle. There is a hole in the cap that lets the usb cable thru, and the top is masked with duct tape, the screen and the sensor are above it, and then I used cling film to protect them. Quick and dirty, dirty being the operative word here :-)
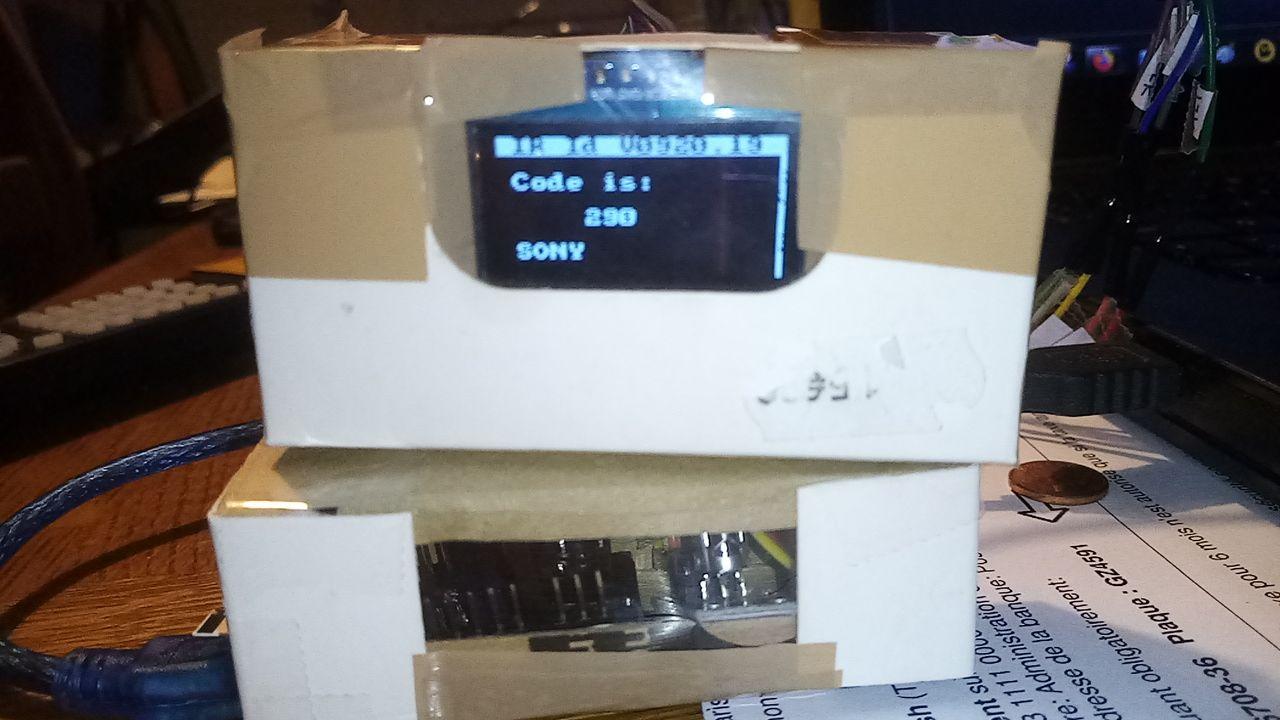
Once I had a bit more time, I re-did the box to separate the Oled screen from the rest, the rationale being that I can reuse the screen for other projects.

Going further
Once I have the codes, I can use the remote for my own purpose.The most obvious one is to switch things on and off.
For that, all you need is a relay switch coupled to a board, coupled to an IR receiver.
Alternate designs:
- Use 2 ESP32 (or ESP8266), one connected to the IR receiver (A), another connected to the switch (B). When A receives the code from the remote, it sends it via internet or local network to B, which switches ON or OFF.
- Bypass the remote altogether :-) Have a simple website/phone app with buttons which then sends the code to the ESP attached to the relay.
- Use telegram to send the code to the ESP attached to the relay.
From a programming point of view, all the information needed is here: IR library, ESP8266 example. Adaptation for an ESP32 or Nano is straightforward.
Since then, I have found the Linux Infra-Red Remote Control (LIRC) project and the windows equivalent, which have most of the existing remote codes.
Here is another fun project with those remotes lying around: a calculator!
(C) Thunus F. 2020.